Stop the Steam: How to Size and Place a Bathroom Exhaust Fan
Stepping out of a hot shower into a fog-filled bathroom that takes forever to clear isn’t just annoying—it’s a recipe for mold, mildew, and expensive moisture damage. The key to stopping the steam and protecting your bathroom lies in choosing the right exhaust fan and placing it strategically.
A properly sized and positioned bathroom exhaust fan removes humid air before it can condense on surfaces, preventing the cascade of problems that follow. From peeling paint and warped trim to serious air quality issues, inadequate ventilation costs homeowners thousands in repairs and remediation.
This comprehensive guide will walk you through the exact calculations needed to size your exhaust fan correctly, reveal the optimal placement strategies for maximum steam control, and help you avoid the common mistakes that leave bathrooms perpetually damp and problematic.
Key Takeaways
- Calculate required CFM by multiplying bathroom square footage by 1.1 for standard 8-foot ceilings
- Choose fans with 1.5 sone rating or lower for quiet operation while maintaining effective moisture removal
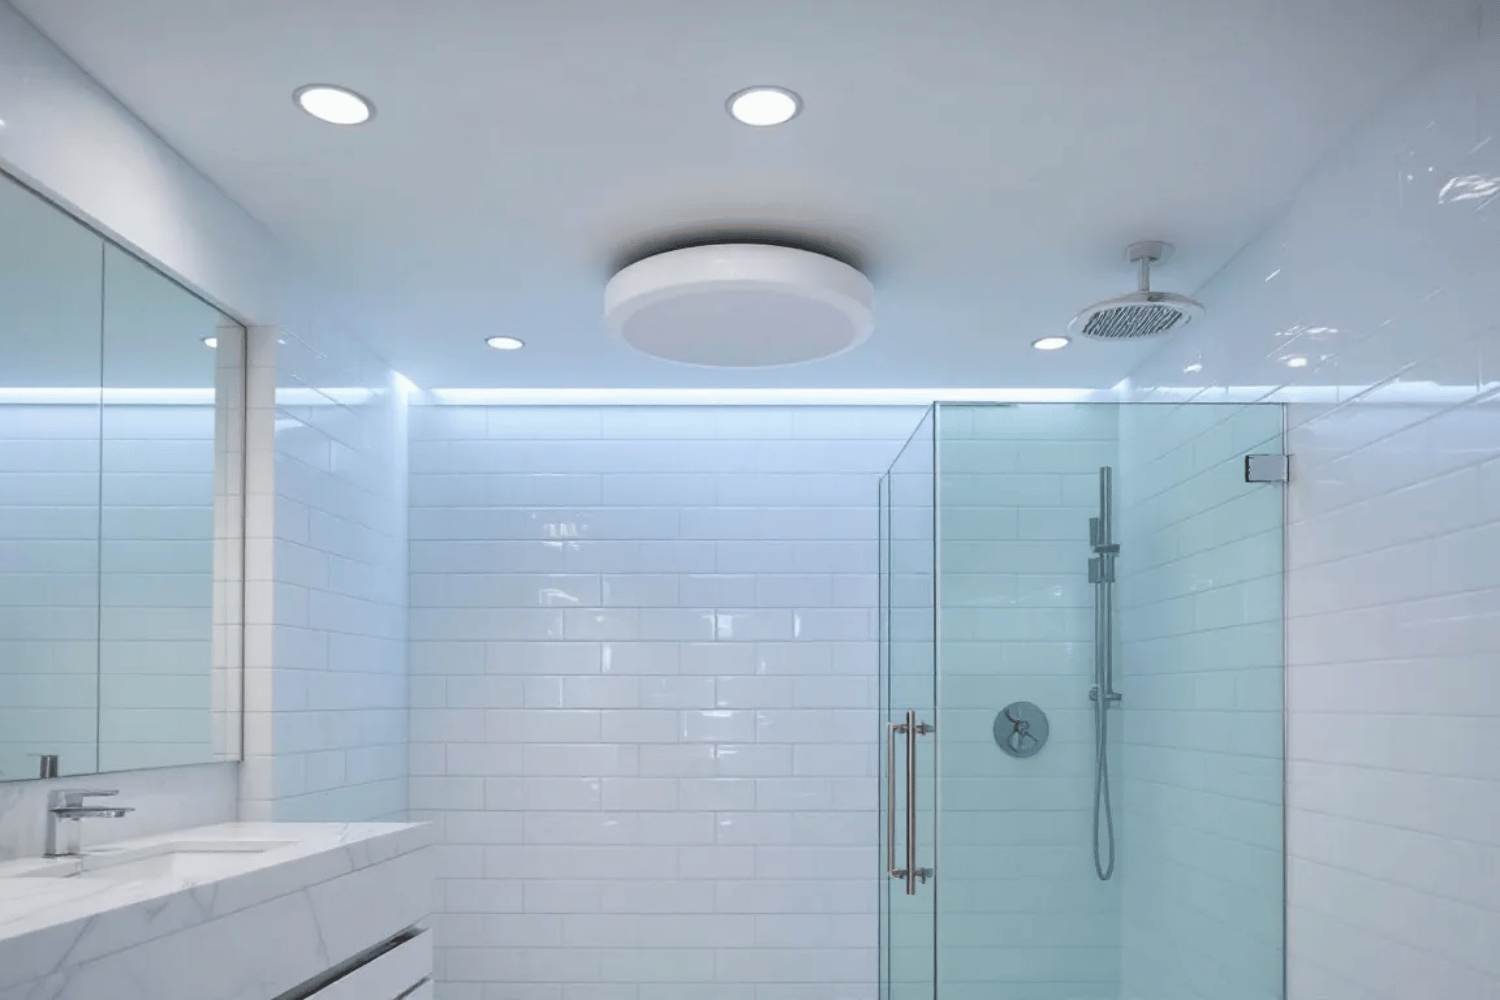
- Install ceiling-mounted fans in the center of the room or directly above the shower/tub area for optimal steam capture
- ENERGY STAR certified fans provide efficient operation and long-term cost savings
- Consider bathroom layout, ceiling height, and fixture placement when determining final fan placement and sizing
How to Calculate the Right CFM for Your Bathroom
The foundation of effective bathroom ventilation starts with determining the correct cubic feet per minute (CFM) rating for your space. This measurement indicates how much air the fan moves in one minute, and getting it right means the difference between a dry, comfortable bathroom and one plagued by moisture issues.
Basic CFM Calculation Formula
For standard bathrooms with 8-foot ceilings, multiply your bathroom’s square footage by 1.1 to determine the minimum CFM requirement. This formula accounts for the air volume while providing a safety margin for effective moisture removal.
Adjusting for Multiple Fixtures
Bathrooms with multiple water sources require additional ventilation capacity. Add 50 CFM for each toilet, shower, or bathtub beyond the first fixture. A master bathroom with a separate shower, soaking tub, and toilet would need the base CFM calculation plus 100 CFM for the additional fixtures.
Ceiling Height Considerations
Higher ceilings contain more air volume, requiring increased CFM capacity. For ceilings above 8 feet, multiply your base CFM by the ceiling height divided by 8. A bathroom with 10-foot ceilings would need 25% more CFM than the standard calculation.
Ceiling Height Considerations
Most residential bathroom exhaust fans fall into the 50-150 CFM range, with 80-110 CFM handling the majority of standard applications effectively.
Optimal Placement Strategies for Maximum Steam Control
Strategic fan placement determines how effectively your bathroom exhaust fan removes moisture-laden air. The goal is capturing steam at its source before it spreads throughout the space and condenses on surfaces.
Shower-Adjacent Positioning
Install ceiling fans directly above or within 6 feet of the shower or bathtub area for immediate steam capture. This proximity ensures the fan pulls humid air away before it can circulate and settle on mirrors, windows, and walls throughout the bathroom.
Position the fan to avoid direct water spray while maintaining effectiveness. A location 2-3 feet away from the shower head provides optimal moisture removal without exposing the unit to excessive water contact.
Central Placement for Multi-Zone Bathrooms
Large bathrooms or those with separated areas benefit from central fan placement. This strategy works best when the bathroom has an open layout where air can circulate freely from all areas to the centrally located exhaust point.
Avoiding Air Circulation Conflicts
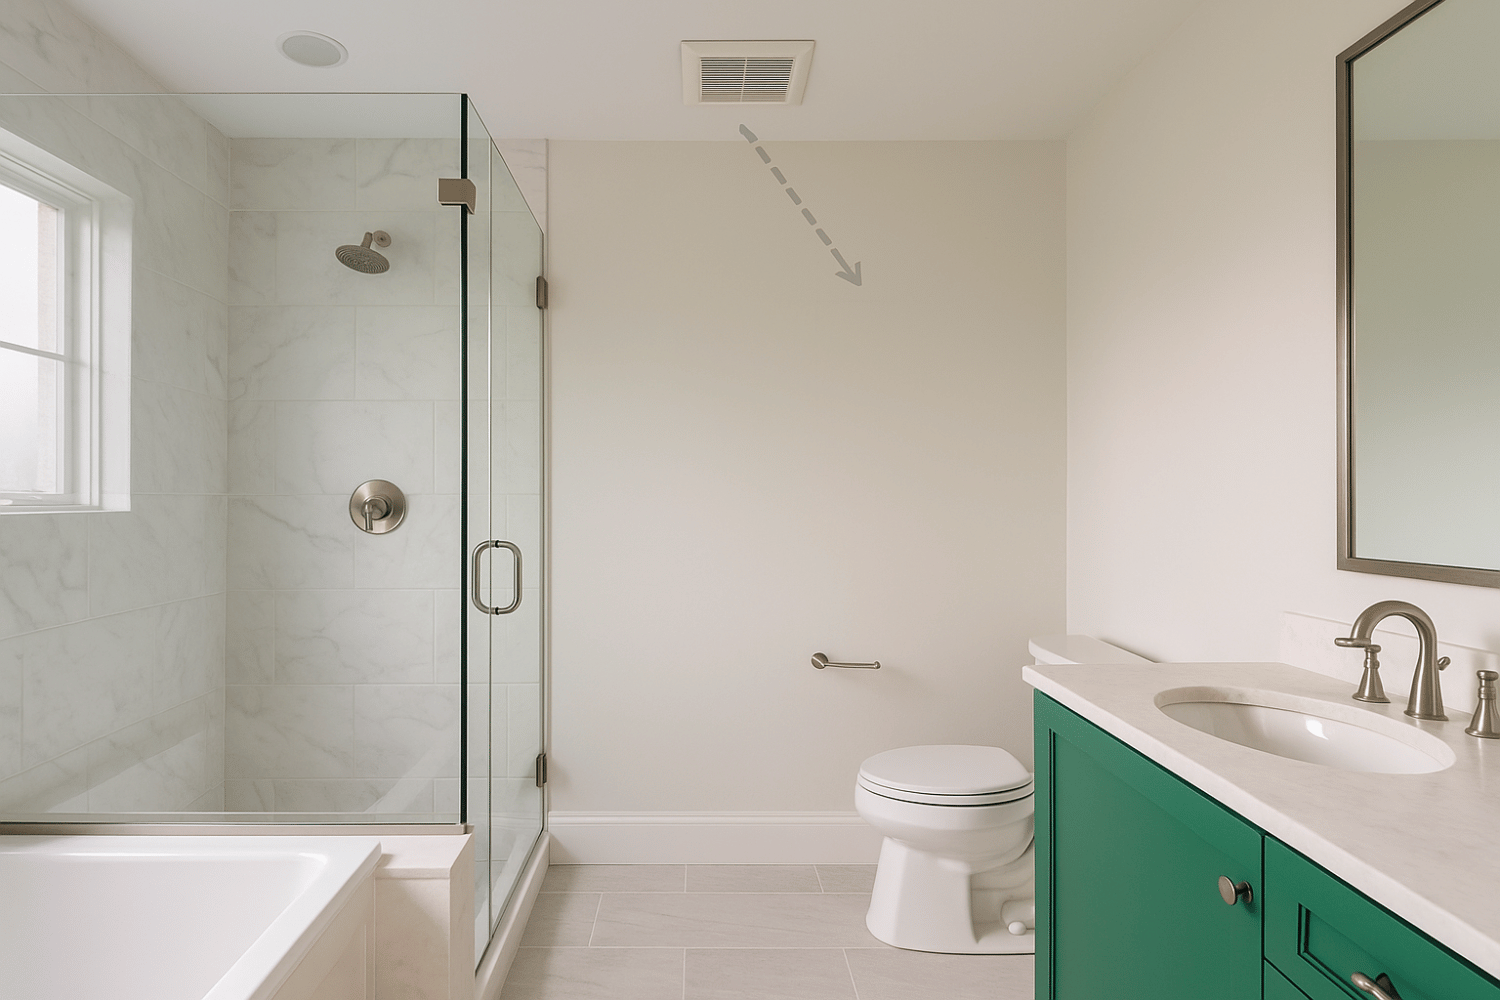
Never place exhaust fans directly opposite air supply vents or HVAC returns. This creates competing air currents that reduce the fan’s effectiveness and may actually pull conditioned air from adjacent rooms into the bathroom.
Wall-mounted fans should be positioned high on the wall opposite the door to create effective cross-ventilation. This placement draws air across the entire room rather than creating short-circuit airflow patterns.
Installation Location Considerations
The physical constraints of your bathroom and home structure significantly impact both fan selection and placement options. Understanding these factors early in the planning process prevents costly installation complications.
Ceiling vs Wall Installation
Ceiling installation provides superior moisture removal in most applications because warm, humid air naturally rises. Ceiling-mounted bathroom exhaust fans capture this rising moisture more effectively than wall-mounted units.
However, wall installation may be necessary when ceiling access is limited or when ductwork routing through the ceiling presents challenges. Wall fans work best when placed high on an exterior wall to minimize duct length and complexity.
Structural and Access Requirements
Verify adequate attic or ceiling space for the fan housing and ductwork before purchasing. Most bathroom exhaust fans require 6-8 inches of clearance above the ceiling, plus space for insulated ductwork routing to an exterior wall.
Consider the location of ceiling joists, electrical circuits, and existing ductwork when planning installation. Moving these structural elements significantly increases project complexity and cost.
Electrical Supply Planning
Most exhaust fans require dedicated electrical circuits, especially combination units with lights or heaters. Plan for proper wiring connections and ensure compliance with local electrical codes. GFCI protection may be required depending on the fan’s proximity to water sources.
Ductwork Routing Efficiency
Plan duct routing to minimize bends and maximize airflow efficiency. Each 90-degree turn reduces effective CFM by approximately 10-15%. Straight runs to exterior walls provide optimal performance, while multiple turns can significantly reduce the fan’s moisture removal capability.
Use rigid metal ductwork when possible, as flexible ducts create more airflow resistance and are prone to sagging or crimping over time.
Noise Levels and Sone Ratings
The sone rating system measures fan noise levels, and choosing the right rating ensures your exhaust fan operates quietly enough for comfortable daily use while maintaining effective moisture removal.
Understanding Sone Measurements
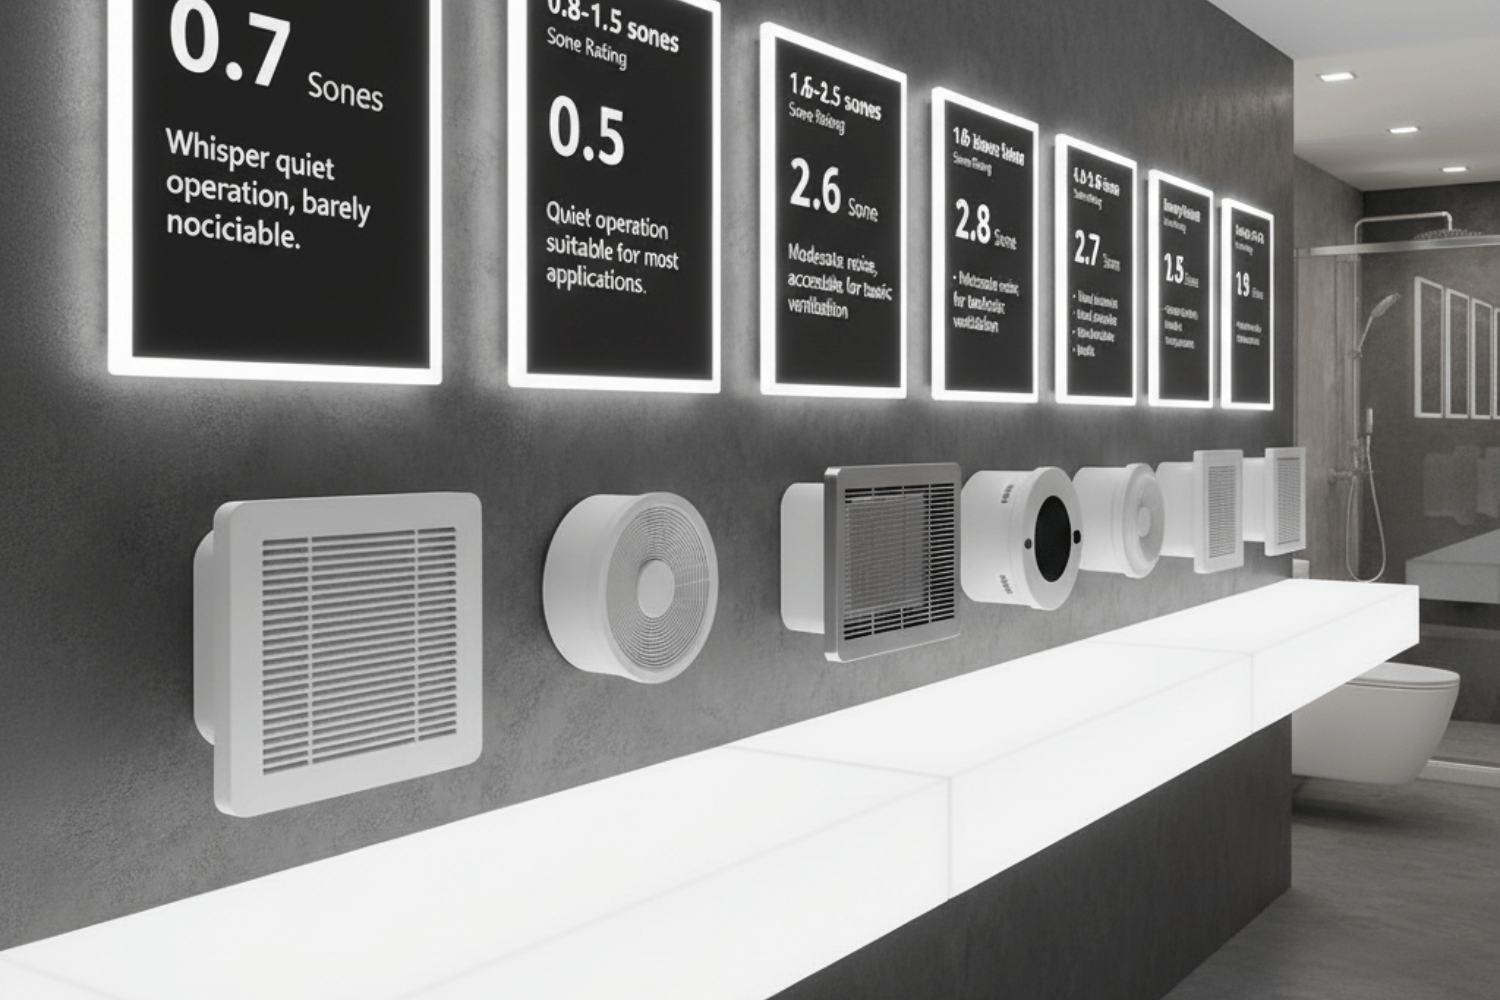
Sone ratings provide a standardized measurement of perceived loudness. Unlike decibel measurements, sone ratings correlate directly with how loud a fan sounds to human ears:
- 0.3-0.7 sones: Whisper quiet operation, barely noticeable
- 0.8-1.5 sones: Quiet operation suitable for most applications
- 1.6-2.5 sones: Moderate noise, acceptable for basic ventilation
- 3.0+ sones: Noticeably loud, may discourage regular use
Balancing Noise and Performance
Target fans with 1.5 sone ratings or lower for daily comfort. Ultra-quiet fans operating at 0.3-0.7 sones provide nearly silent operation but may cost 30-50% more than standard models.
Higher CFM fans typically produce more noise, but modern motor technology and improved blade designs have significantly reduced this correlation. Many 110 CFM fans now operate at 1.0 sones or less.
Motor Technology Impact
ECM (electronically commutated motors) and DC motors run significantly quieter than traditional AC motors while using less energy. These advanced motors maintain consistent speeds and reduce vibration that contributes to noise.
Look for fans with vibration isolation mounting systems that prevent noise transmission through ceiling materials into adjacent rooms.
Additional Features and Efficiency Options
Modern bathroom exhaust fans offer numerous features beyond basic ventilation, allowing you to customize functionality while maximizing energy efficiency and convenience.
Kitchen remodeling often necessitates electrical and plumbing upgrades. Outdated systems can pose safety hazards and may not meet current codes. Planning for these adjustments in advance can help manage unexpected costs.
ENERGY STAR Certification Benefits
ENERGY STAR certified bathroom fans use up to 70% less energy than standard models while maintaining effective moisture removal. These fans typically feature efficient motors, aerodynamic blade designs, and optimized housing construction.
The energy savings add up over the fan’s 10-15 year lifespan, often offsetting the higher initial purchase price. Many utility companies offer rebates for ENERGY STAR bathroom exhaust fans, further reducing costs.
Combination Unit Advantages
Fans with integrated lights eliminate the need for separate lighting fixtures while providing excellent illumination. Many combination units include night light features for safe navigation during evening hours.
Heater combinations provide rapid bathroom warming during cold weather. Select models with separate switches to operate heating, lighting, and ventilation functions independently.
Smart Controls and Automation
Humidity sensors automatically activate fans when moisture levels rise, ensuring consistent air quality without manual operation. These sensors typically trigger at 60-70% relative humidity and continue operation until levels drop to acceptable ranges.
Timer controls allow preset operation duration after manual activation. Common settings include 15, 30, and 60-minute options, ensuring adequate moisture removal after showering.
Some models offer selectable CFM settings (50/80/110 CFM) providing flexibility for different usage scenarios and energy conservation during light use periods.
Undersizing Consequences
Installing fans with insufficient CFM capacity for the bathroom size leads to incomplete moisture removal, extended clearing times, and eventual mold growth. A 50 CFM fan in a 100 square foot bathroom will struggle to maintain acceptable humidity levels.
Undersized fans often run longer to achieve adequate ventilation, negating any energy savings from the lower CFM rating. The extended operation also increases wear and reduces the unit’s lifespan.
Ignoring Ceiling Height Variables
Many homeowners use standard CFM calculations without adjusting for ceiling heights above 8 feet. A bathroom with 10-foot ceilings contains 25% more air volume, requiring proportionally higher CFM capacity.
Vaulted or cathedral ceilings present additional challenges as the increased volume and air stratification require significantly more ventilation capacity than standard calculations suggest.
Price-Only Decision Making
Choosing bathroom exhaust fans based solely on initial price often results in poor long-term performance and higher operating costs. Economy fans may have inflated CFM ratings, poor durability, and excessive noise levels.
Quality fans with proper CFM ratings, low sone levels, and efficient motors provide better value despite higher upfront costs. The improved performance and longevity justify the investment through reduced energy bills and elimination of moisture-related repairs.
Overlooking Ductwork Limitations
Existing ductwork may limit effective CFM delivery regardless of the fan’s rated capacity. A 110 CFM fan connected to undersized or heavily restricted ductwork may only deliver 60-70 CFM of actual airflow.
Inspect existing ducts for size, condition, and routing before selecting a replacement fan. Upgrading ductwork may be necessary to achieve rated performance from higher-capacity units.
Professional vs DIY Installation Factors
Determining whether to tackle bathroom exhaust fan installation yourself or hire professionals depends on project complexity, electrical requirements, and local building codes.
DIY-Suitable Projects
Simple fan replacements in existing locations with accessible wiring represent ideal DIY projects. If you can safely reach the existing fan, disconnect power, and the new unit fits the existing opening, most homeowners can complete the installation.
Basic tools like screwdrivers, wire nuts, and a voltage tester are typically sufficient for straightforward replacements. Always verify power is completely shut off before beginning electrical work.
Professional Installation Requirements
New installations requiring electrical circuit additions, extensive ductwork modifications, or structural alterations typically require professional expertise. Licensed electricians ensure proper wiring, GFCI protection, and code compliance.
HVAC professionals handle complex ductwork routing, especially when penetrating exterior walls or navigating around structural elements. Their experience prevents common installation mistakes that reduce fan effectiveness.
Building Permit Considerations
Many jurisdictions require permits for bathroom ventilation upgrades, particularly those involving new electrical circuits or exterior wall penetrations. Check local requirements before beginning any installation project.
Professional installation often includes permit acquisition and inspection scheduling, ensuring full code compliance and avoiding potential issues during home sales.
Warranty Protection
Some manufacturers require professional installation to maintain warranty coverage, especially for higher-end or combination units. Review warranty terms before deciding on DIY installation to avoid voiding coverage.
Professional installation typically includes service guarantees and may offer extended warranties on both the fan and installation work.
Effective bathroom ventilation requires careful attention to both sizing calculations and strategic placement. By multiplying your bathroom’s square footage by 1.1, accounting for ceiling height and multiple fixtures, you’ll determine the CFM capacity needed to stop the steam and prevent moisture damage.
Remember that optimal placement near moisture sources, combined with quiet operation under 1.5 sones, creates a ventilation system you’ll actually use consistently. ENERGY STAR certified models provide long-term efficiency benefits that offset higher initial costs through reduced energy consumption.
Whether you choose professional installation or tackle the project yourself, proper sizing and placement form the foundation of a dry, healthy bathroom environment. Start by measuring your bathroom space and calculating your specific CFM requirements—your walls, mirrors, and air quality will thank you for the investment in effective ventilation.
Frequently Asked Questions
How long should I run my bathroom exhaust fan after showering?
Run the fan for 15-20 minutes after showering to completely remove residual moisture and prevent mold growth. Many timer switches can automate this process, ensuring adequate ventilation without waste.
Can I install a bathroom exhaust fan in a bathroom without windows?
Yes, windowless bathrooms actually require exhaust fans more than windowed ones, as they have no natural ventilation for moisture removal. Building codes typically mandate mechanical ventilation in bathrooms without operable windows.
What’s the difference between duct-free and ducted bathroom fans?
Duct-free fans filter and recirculate air using charcoal filters, while ducted fans exhaust moisture directly outside. Ducted fans are significantly more effective for moisture control and are required by most building codes.
How often should I clean or replace my bathroom exhaust fan?
Clean the fan grille monthly and replace the entire unit every 10-15 years, or sooner if it becomes excessively noisy or ineffective. Regular cleaning maintains airflow efficiency and extends fan life.
Can I use the same size fan for different bathroom layouts?
No, fan sizing depends on square footage, ceiling height, fixture count, and layout. Each bathroom requires individual calculation for optimal performance, as identical square footage doesn’t guarantee identical ventilation needs.


